
Musical production: mastering vocal breaths for a natural sound 🚀
After the article on the voice processing with Melodyne and Auto-Tune Let's focus on another tedious task: processing breaths. Let's try to understand why it's sometimes necessary and how to make our lives easier!

Control the breaths in a vocal recording – a small adjustment for a big impact! 🎙️✨
Why is breath management essential in music production?
Why would one want to get rid of a singer's breaths? After all, they are natural, and completely removing them could harm the interpretation and make it all feel artificial. No worries: the goal here is rather to learn how to control them.
Sometimes, the performer does not manage their breathing well, and it stands out too much compared to the rest of the performance. It is also possible that strong compression – by raising the level of the quieter passages – makes it more noticeable. This can also be a purely aesthetic choice.
Let's see how to tackle this task to make it less burdensome. And let's discover some plugins that can assist us.
The manual method: 🔧
As with vocal processing using Melodyne, although it is more tedious, the result is more natural when working on a case-by-case basis. Here’s how to do it in Cubase:
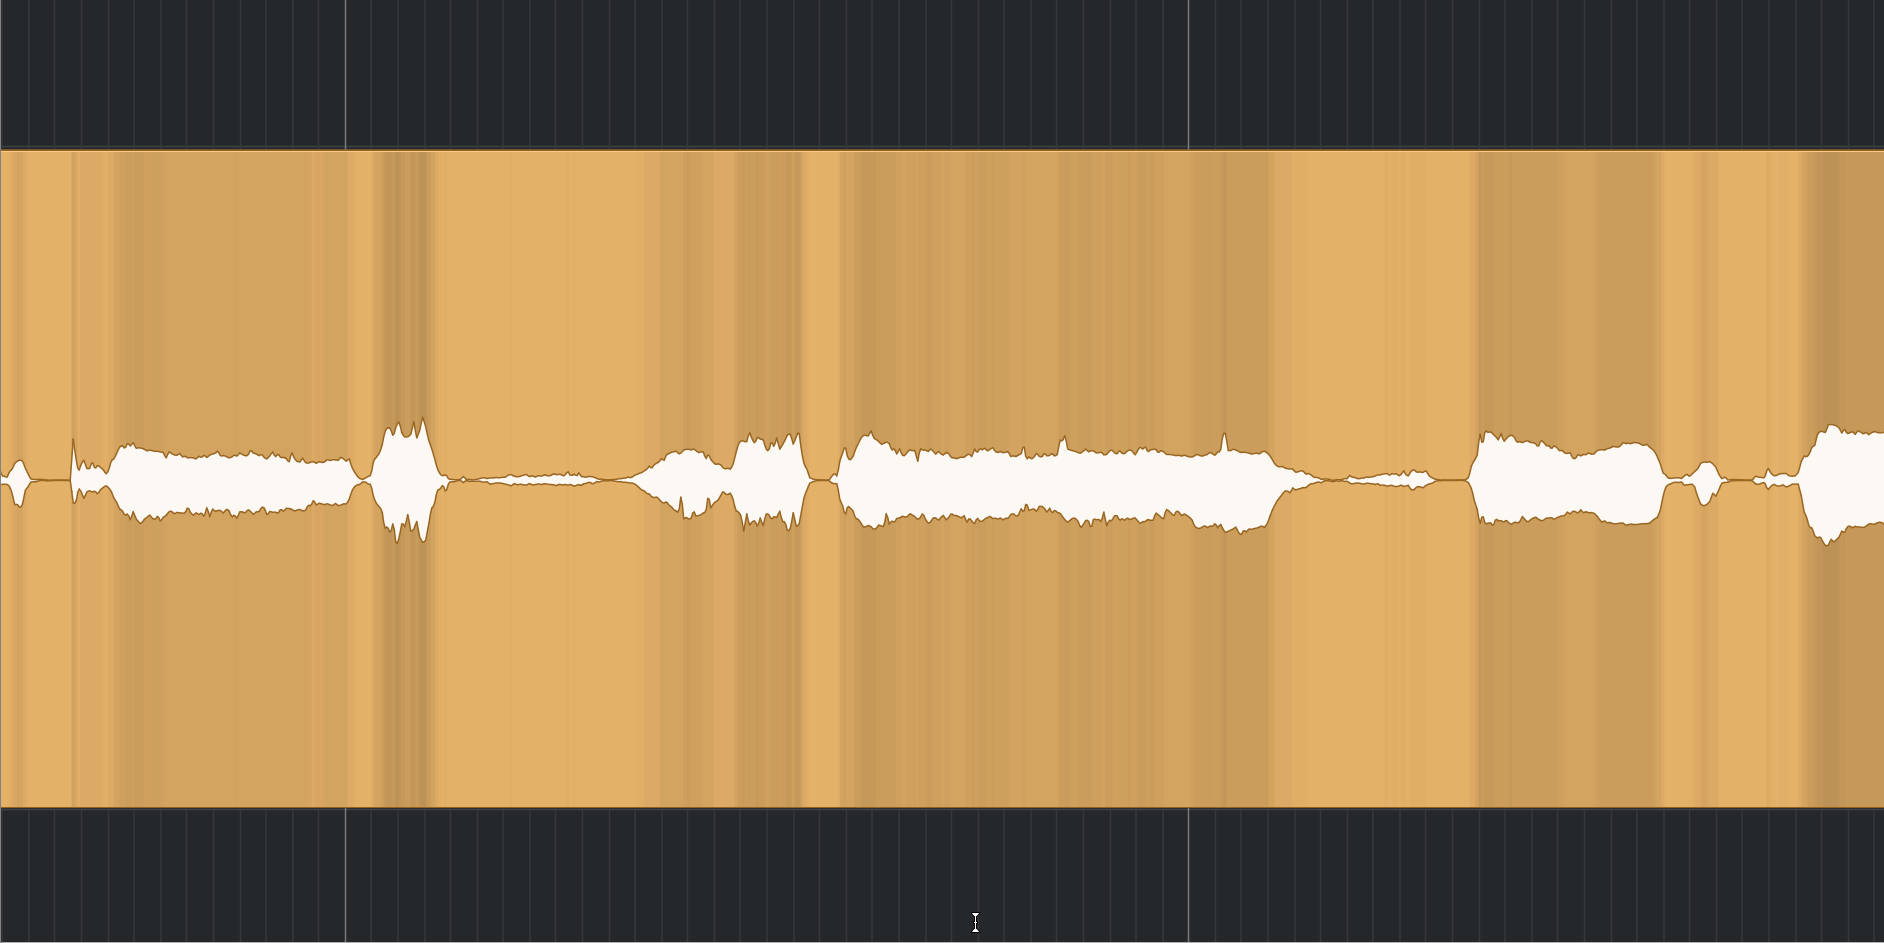
The first step is to visually identify the breaths in the waveform, which eliminates the need to listen to everything – a considerable time saver.
To do this, enlarge the size of the track and the display scale of the waveform. This will allow you to more easily identify the breaths. They are smaller than the rest of the signal and often have a shape... similar to Mont-Saint-Michel!
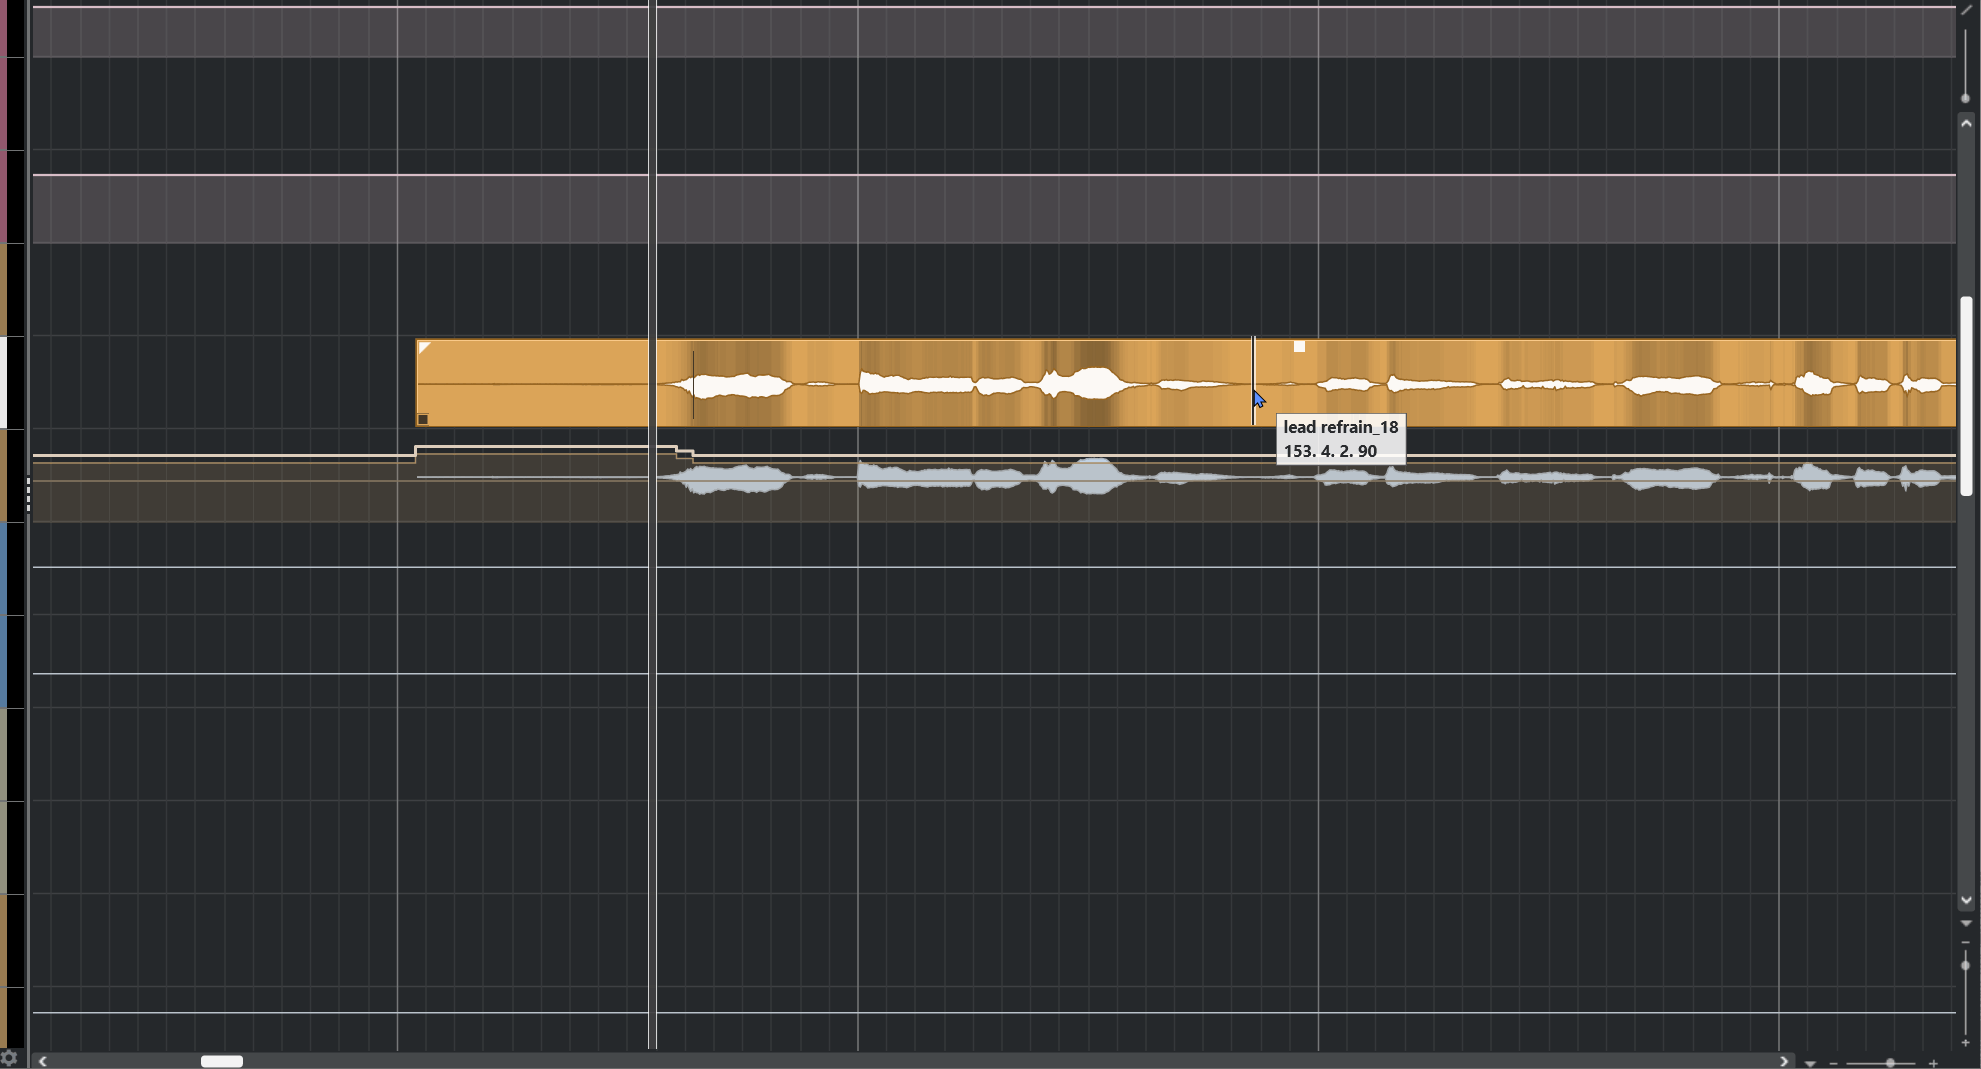
With a bit of experience, you won't even need to zoom in to spot them.
⚠️ Be careful not to increase the audio signal gain, only the visualization. If you don't know how to do this, refer to your software manual.
Now that you have identified them, they need to be addressed. Based on my experience:
For the lead voice, I simply reduce the gain by a few dB.
• For the choirs, I completely remove them. This allows for a natural (but controlled) main voice and avoids the accumulation of breaths in the choirs.
Lead voice: 🗣️
For each breath, it is necessary to isolate it and reduce the gain. Each software has its specificities, but here is the simplest (and longest) method, illustrated in Cubase:
With Alt + left click, you can split the audio file.

By assigning a keyboard shortcut to a macro, you save valuable time.
Let's see how, thanks to Cubase macros, I automated this task: by using the selection tool, we cut the event to isolate the breath. Then, each line of the macro reduces the volume by 1 dB. Adjust this according to the context; for me, -12 dB works in most cases.
With a little practice, you will quickly handle the breaths.
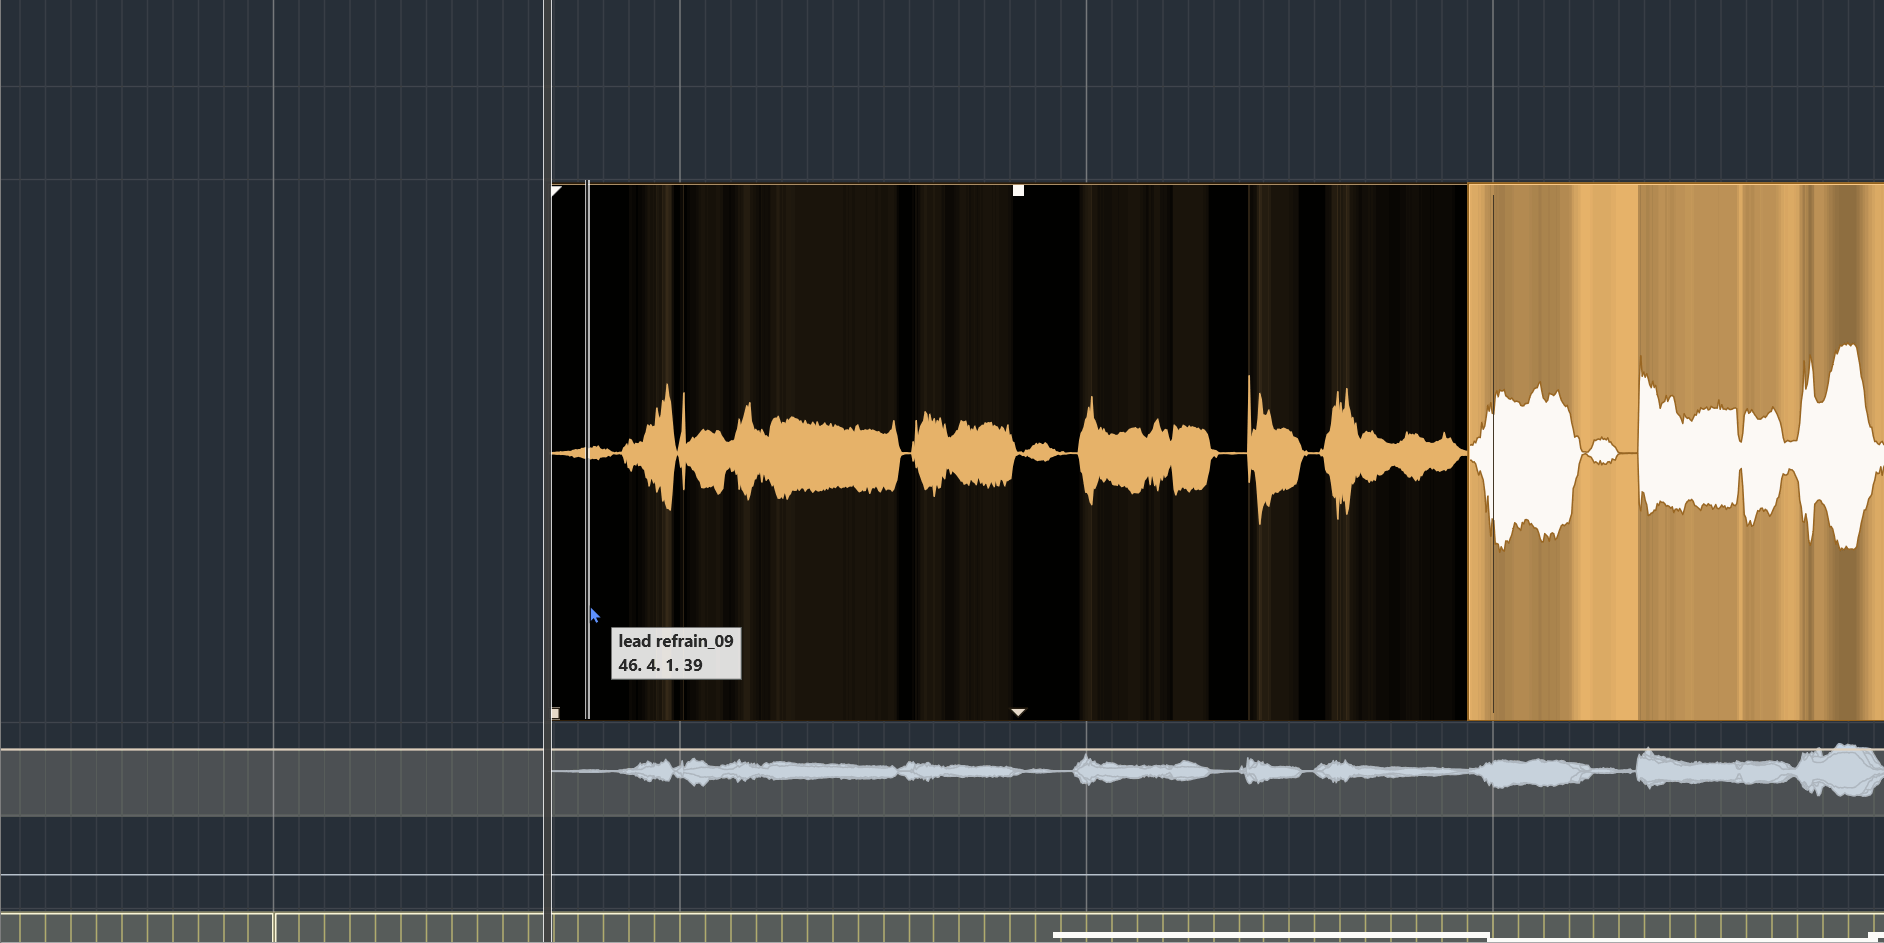
Choirs : 👥
As mentioned above, for the choirs, I prefer to remove them entirely. Especially if there are many: it avoids the "pile of breaths" effect (often out of sync). Of course, it depends on the context – sometimes, I leave a few in.

Sometimes, they are aligned and we can delete several at once. Sometimes… not 😓
Miracle plugins? ✨
Plugin developers have looked into the issue. Today, there are a few tools on the market, varying in effectiveness. Most are intended for post-production, so their use in music is not always optimal. Here are two of them:

• Breath Threshold: DeBreath uses a database of breathing patterns. The scale ranges from 1 to 100; the higher the value, the more likely the element is to be a breath.
• Reduction: Controls the level of reduction applied to detected breaths.
• Energy Threshold: Assesses the energy of an audio event; if it is below the threshold, it is more likely to be a breath.
• Fade In: Manages the fade speed of the breath. A short attack acts quickly, while a long attack is softer.
• Fade Out: Manages the duration of the fade after detection.
• Room Tone: Replace the removed/diminished breathing with a subtle white noise, avoiding unpleasant "gaps" and making the removal more natural.

• Target Level: Determines the target level of breaths in the final mix. The plugin automatically reduces them to this level.
• Sensitivity: Manages the plugin's responsiveness. The higher the sensitivity, the more it detects and mitigates breathing (and vice versa).
As you can see, the Waves plugin is more comprehensive. In practice, the rendering is more natural and less destructive. On the other hand, the iZotope one tends to miss breaths and generate unwanted artifacts.
However, even though DeBreath is very efficient, it can sometimes confuse certain words with breaths (and vice versa), which necessitates creating automations to "follow" the interpretation.
Conclusion :
In a musical context, it is often quicker and more efficient to handle breaths manually. The result is much more natural, and with this guide and a bit of practice, it shouldn't take you too long. 🚀
I hope these lines have helped you better understand breath management in music production. I invite you to read other articles that provide you with 5 ways to master marker management.
Feel free to comment and share on your social media, and stay tuned – new articles are coming soon! 🙏