
In recent years, Reaper has established itself as an essential reference for sound designers, particularly in the video game industry. But how can such enthusiasm be explained? Why does its community transform into true ambassadors, ready to defend the software with all their might? The secret often lies in its absolute flexibility: no matter your need, "there's definitely a script for that!" And while the idea of getting hands-on with the code may seem daunting at first, rest assured: it's much more accessible than one might think.

The use of scripts requires no programming knowledge; you just need to know how to install them. Here are the two essential techniques to know: the manual method of copy-pasting and the use of the package browser.
Method 1: The "Copy-Paste" (For a quick test)
Sometimes, you find a piece of code on a forum (like the official Cockos forum) and you just want to try it out quickly. In this case, no need for complex installation.
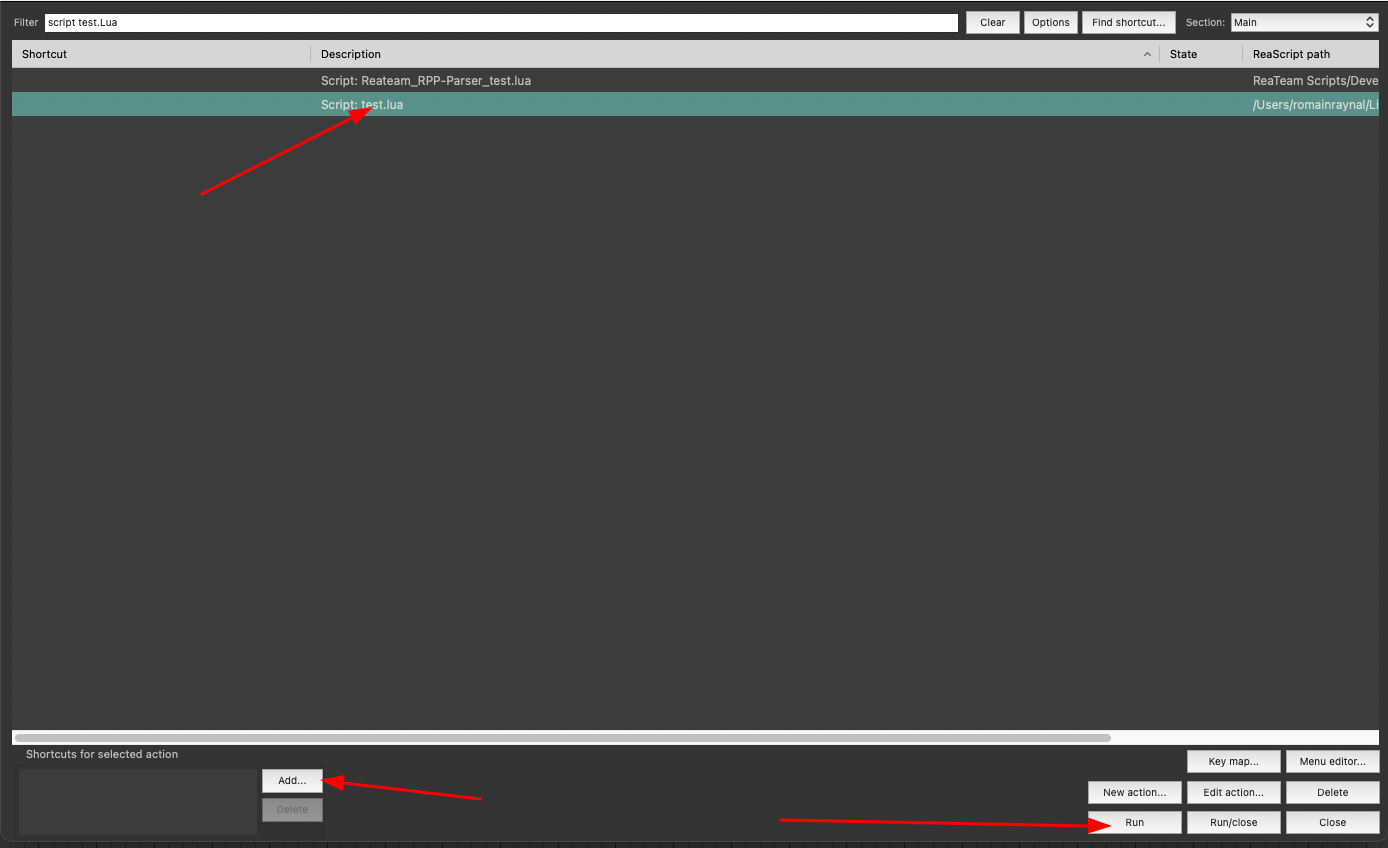
Everything happens in the action list.
In the menu Actions > Show action list.
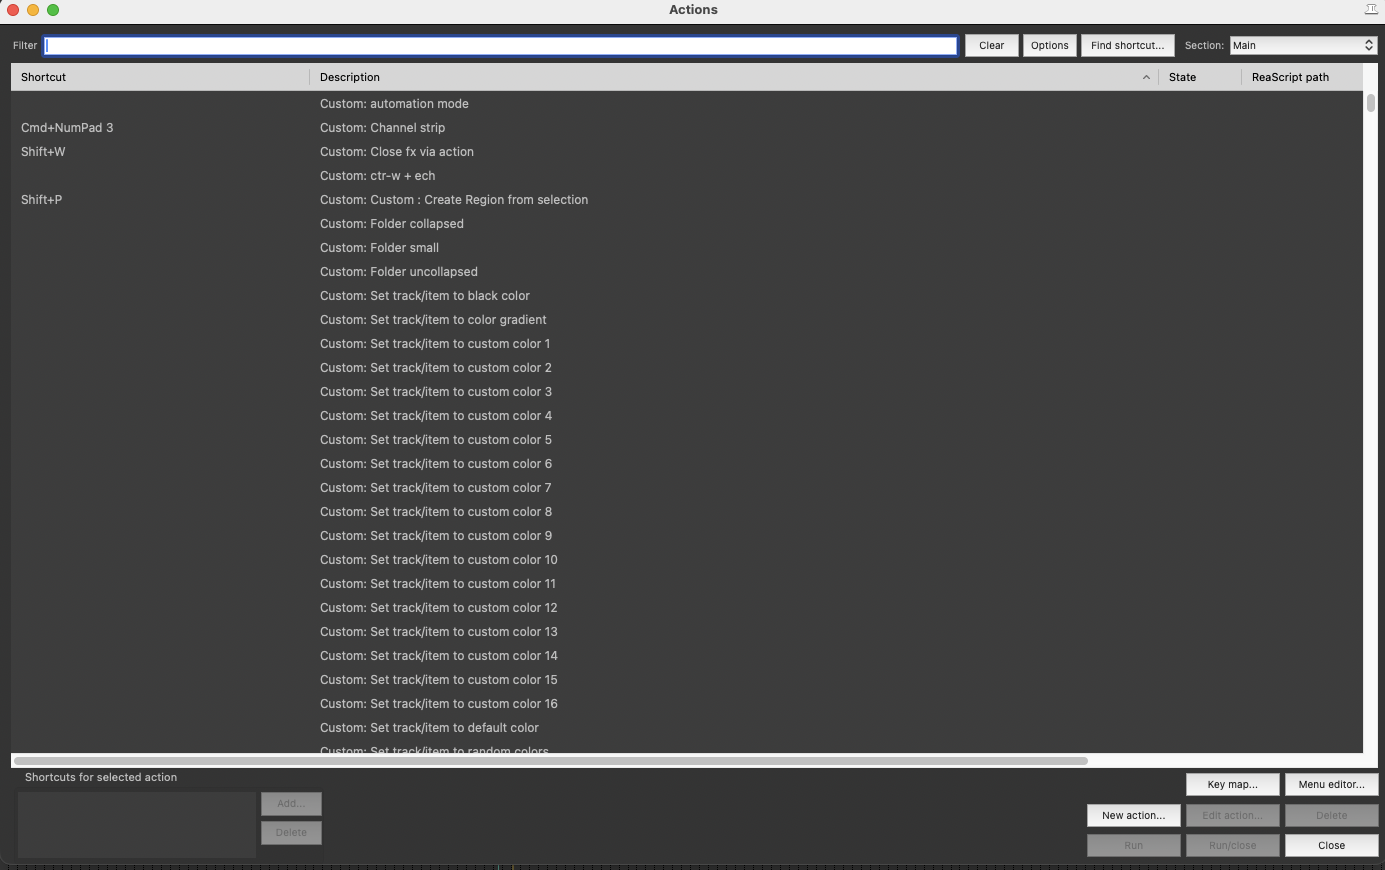
In the bottom right of the actions window, you will see a New Action button.
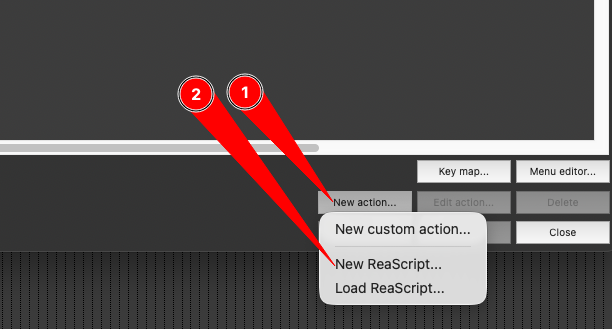
Clic on New Action.
Choose New ReaScript.
Give your script a name (for example: MyTestScript.lua), a location on your computer (leave the default location), and save it. It will now appear in the action list.
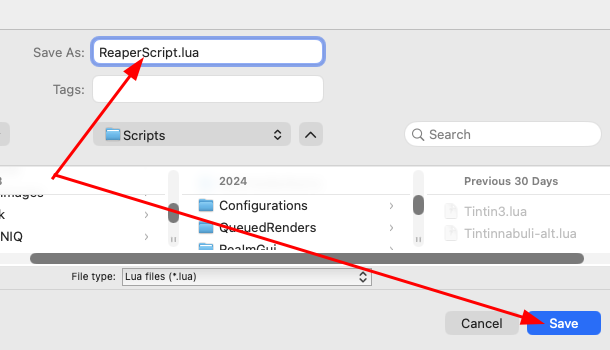
Note: The .lua extension is the most common and easiest to use in Reaper.
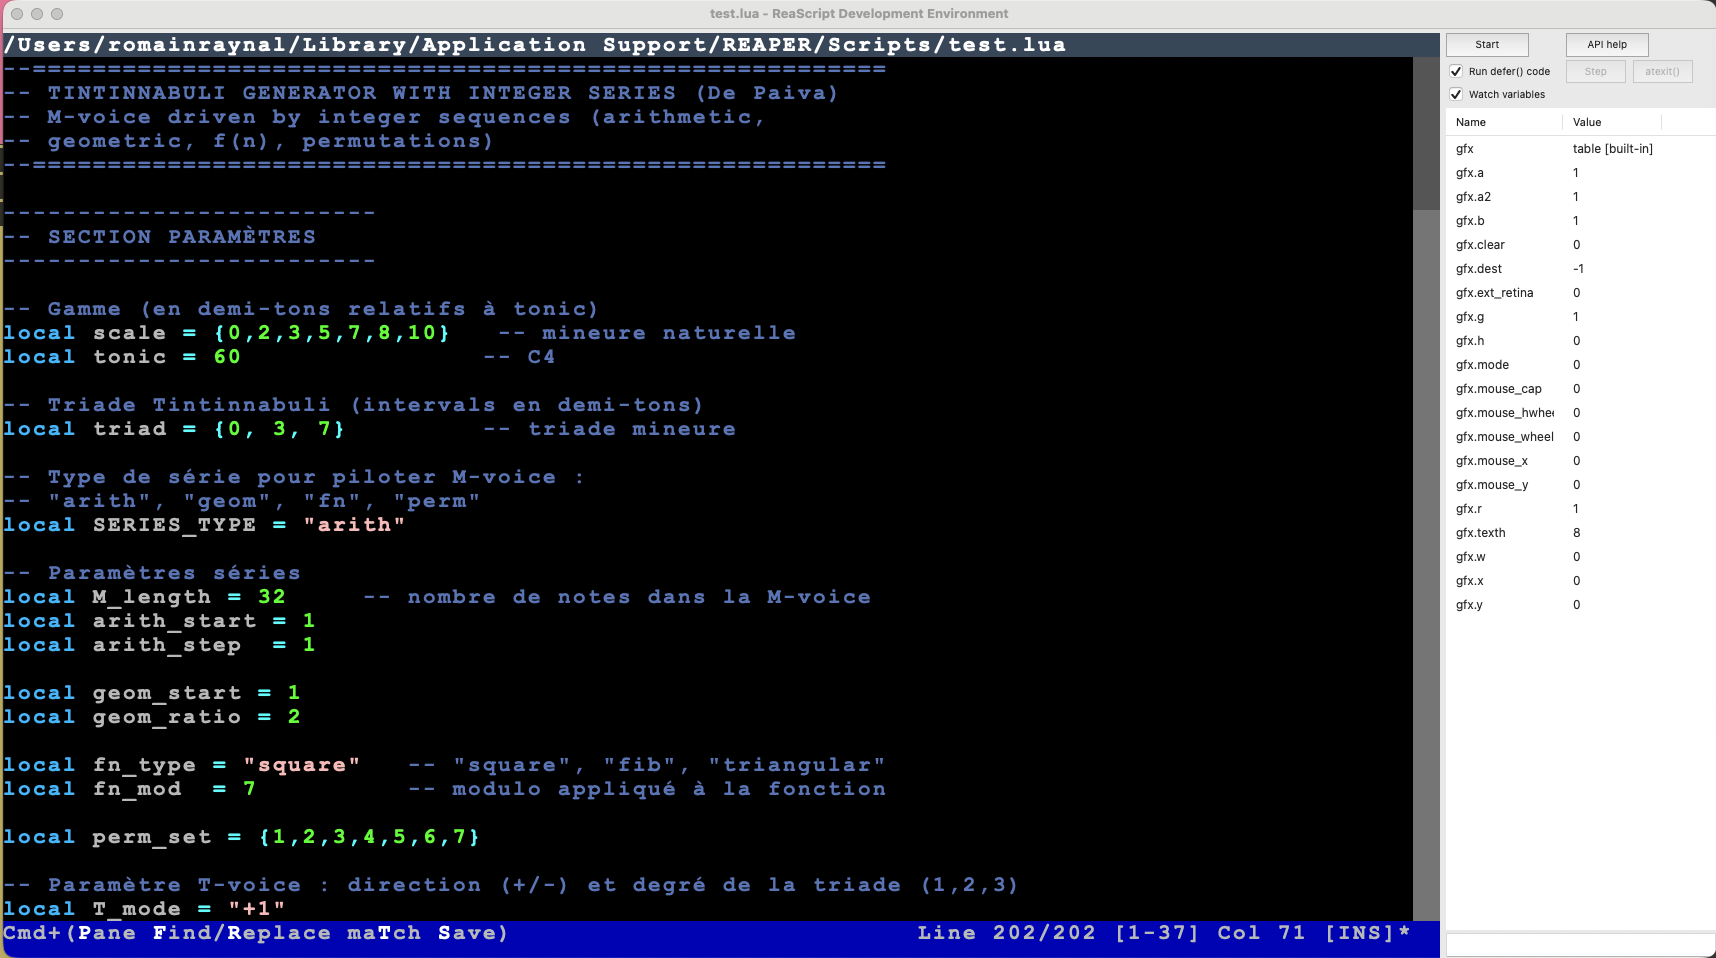
When you click on Save (or click on Run in the Action List), a text editor window (the Reaper IDE) opens. It contains a few lines of default text.
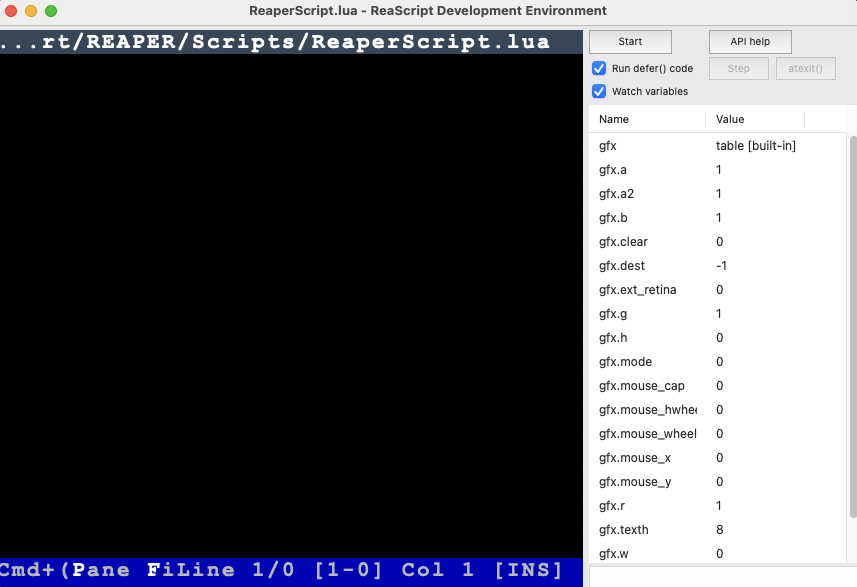
Delete everything that is there to have a blank page.
Copy the code you found on the internet (for example, this script that I will discuss in a future article that generates random midi files that I will talk about soon).
Stick it in the window.
Press Ctrl + S (PC) or Cmd + S (Mac) to save and run the script.
And there you go! Your script now appears in the actions list, and you can execute it from the action list, assign it to a keyboard shortcut, or to a toolbar.
Method 2: The "Pro" method with ReaPack (For a multitude of scripts)
Copy-pasting is fine for a quick fix. But to access thousands of scripts created by the community, you need to use the package manager: it's like an "App Store" for Reaper.
What is a Repository?
Imagine a Repository (or Depot) as a library. Once you provide the address of the library to Reaper, you can download all the books (scripts) that are there.
Step 1 : Install SWS :
First brick of the process, SWS extension is a suite of plugins and scripts that enhance your Reaper, and you can install it directly and for free here:https://sws-extension.org/
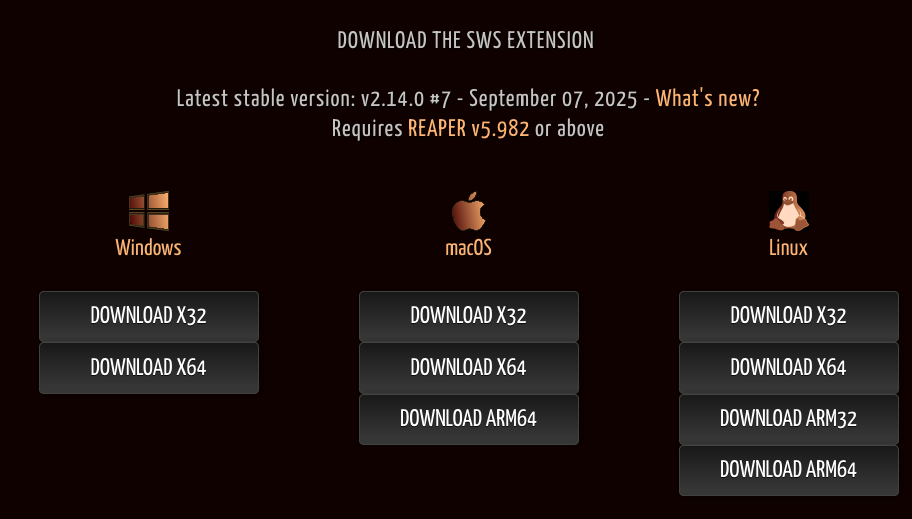
Choose your system and follow the installation instructions.
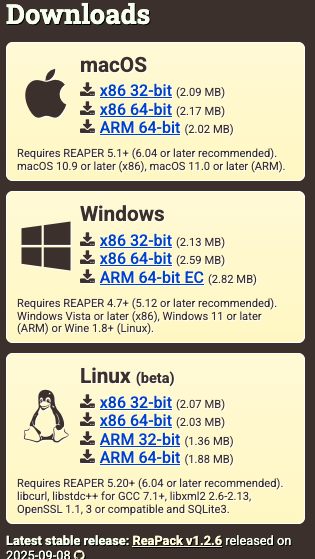
Step 2 : Install ReaPack
It is the only technical installation.
Go to reapack.com.
Download the file corresponding to your system.
Follow the instructions to copy this file into the UserPlugins folder of Reaper (Options > Show REAPER resource path...).
Restart Reaper.
Step 3: Navigate through the scripts
Once ReaPack is installed, you have access to a goldmine.
Go to the Extensions menu > ReaPack > Browse packages.
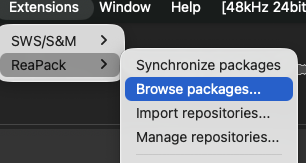
A window opens with an immense list of scripts.
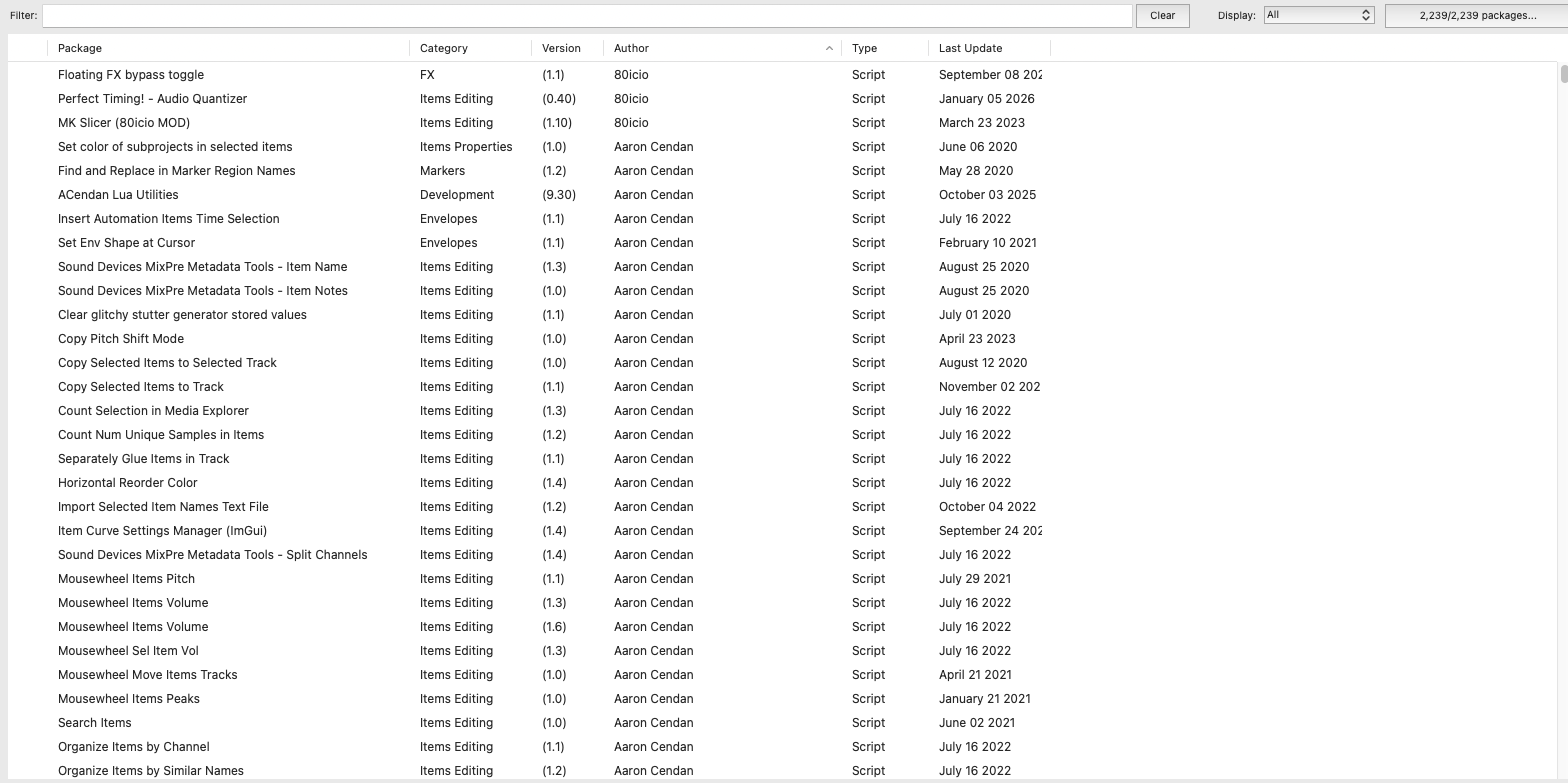
Use the search bar to find what you need (for example: "Split", "Color", "Loudness").
Step 4: Install with one click (and a half)
Right-click on the script that interests you.
Choose Install.
Clic on Apply on bottom right.
The script is now installed and after restarting Reaper, it appears in your actions list!
Step 5 : Import repositories
Imagine repositories as a collection of scripts created by one person or a group of people. With a simple web address, you can import the entirety of their library into your library (the package browser). Here is a link where you can find repositories on Reapack. Let's see an exemple with the Audiokinetic we have already talked about in this article.
Click on Extentions -> ReaPack -> Import Repository
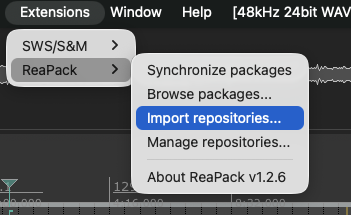
Copy and paste this -> https://github.com/Audiokinetic/Reaper-Tools/raw/main/index.xml -> click OK
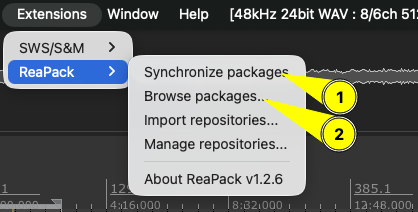

Start by synchronising the packages and click on browse packages to return to the list and find the new scripts added that you will be able to install as seen previously.
Remember to regularly run synchronize packages, as this allows you to update your existing scripts and also retrieve new scripts from the creators you follow.
The essential scripts:
Here is a non-exhaustive selection of scripts that I use every day and find extraordinary. Of course, it's up to you to do your research to find the ones that will meet your needs ;)
Global Sampler : An essential in sound design, so you don't miss anything

- Placed on the Monitor FX, it records everything that comes out of your DAW.
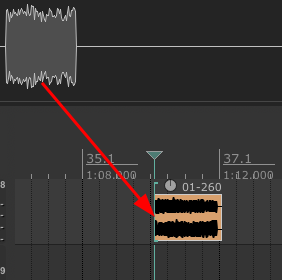
- An essential safety net.Placed on theMonitor FX, this script continuously records everything that comes out of your DAW. Did you like a sound during an experimentation phase? A simple drag-and-drop from the script to your timeline allows you to retrieve the audio. It's amust-havefor sound design or quick re-amping.
If you are using calibration software (like Sonarworks) on your Monitor FX, place the Global Sampler before this one, otherwise you will record the acoustic correction in your file!
- All instructions are in this post on the Reaper forum:
- https://forum.cockos.com/showthread.php?p=2506514
Set Items Position and Order Pack :
- For the organisation of files in bulk. This set of scripts is vital for creating variations (video game assets). Imagine you have 50 footstep sounds that you want to space exactly 1 second apart for export. But not just that, X-Raym_set selected items position and order.lua is an example of a very flexible tool.
- Consult ReaScripts: Set Items Position and Order Pack (Advanced Reposition Items) for more informations.
Some random scripts :
- Script:spk77_Set track names to first item (active take) name.eel: Automatically renames your tracks based on the name of the first audio file present on them. Huge time saver in post-production.
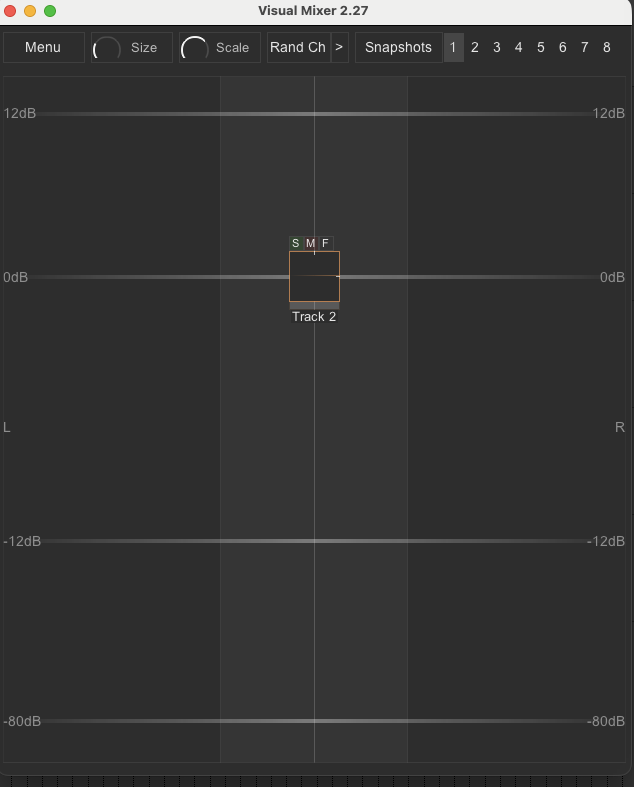
- Script:mpl_Visual Mixer.lua: A beautiful visual mixer that allows you to manage volume and panning intuitively. Ideal for placing objects in a sound space. (I also recommendall of MPL's scripts).
Premium tools:

Some developers create extremely powerful scripts with professional support (regular updates, etc.). This is the case with the NKV Tools. If you work in the video game industry, these scripts can be incredibly helpful. In this case, the repository https://nvk.tools/index.xml allows you to install demo versions, which will unlock if you purchase the license.
So, that wasn't so hard, was it?
I hope that through this article I have allowed you to glimpse the almost infinite possibilities offered by Reaper. Don't let the technique scare you: start by installing ReaPack, test a few tools, and soon you won't be able to do without them.

And you, what scripts have changed your life? Share your best finds in the comments!